Virtual Graphics Processing Units (vGPUs) are a game-changer for cloud deployments, enabling high-performance graphics processing for workloads like 3D design, video editing, and AI applications within virtual machines (VMs). VMware Cloud Director (VCD) streamlines vGPU management through vGPU policies, allowing you to define the allocation of these powerful resources to your VMs.
This blog post will guide you through creating a vGPU policy in VCD, ensuring your VMs have the graphics horsepower they need:
Prerequisites:
- Access to the VCD Provider Portal with administrative privileges.
- Pre-configured vGPU profiles in VCD. These profiles represent the different types of vGPUs available in your environment, typically created from the capabilities of your underlying vSphere cluster with NVIDIA GPUs.
Creating a vGPU Policy:
- Log in to the VCD Provider Portal with your administrative credentials.
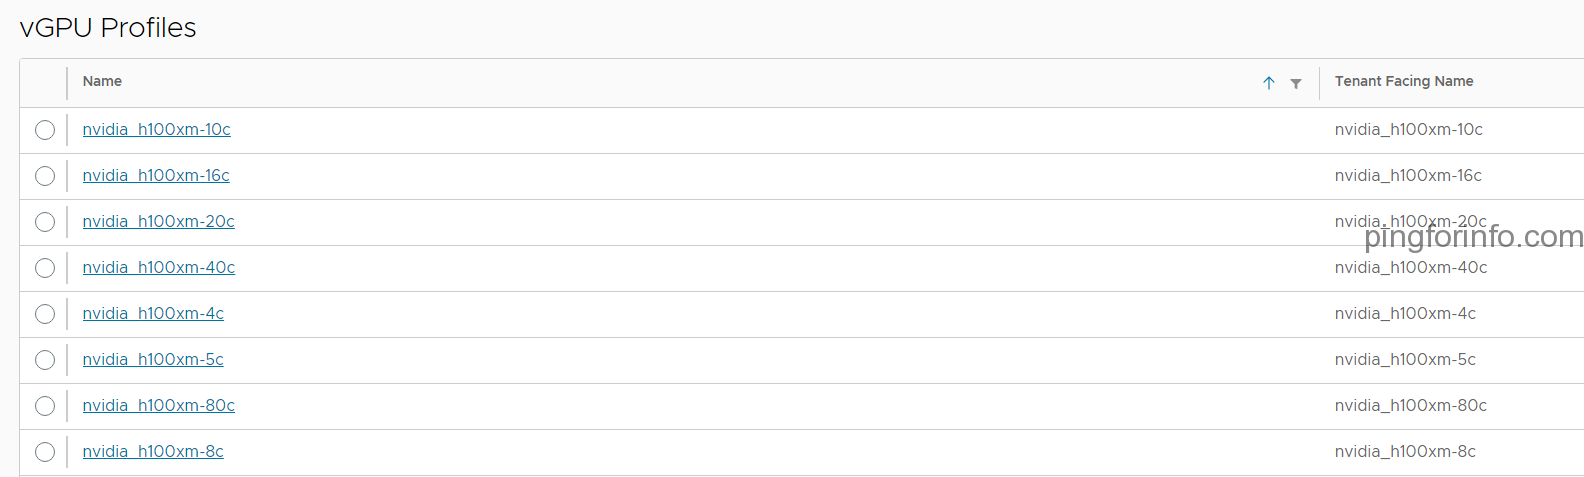
- Verify vGPU Profile Visibility: Navigate to Infrastructure Resources > vGPU Profiles. Ensure the vGPU profiles corresponding to your available GPUs are listed here. If not, you’ll need to create them beforehand (refer to your VCD documentation for specific steps).
- Create the vGPU Policy:
- Go to Cloud Resources > vGPU Policies.
- Click New.
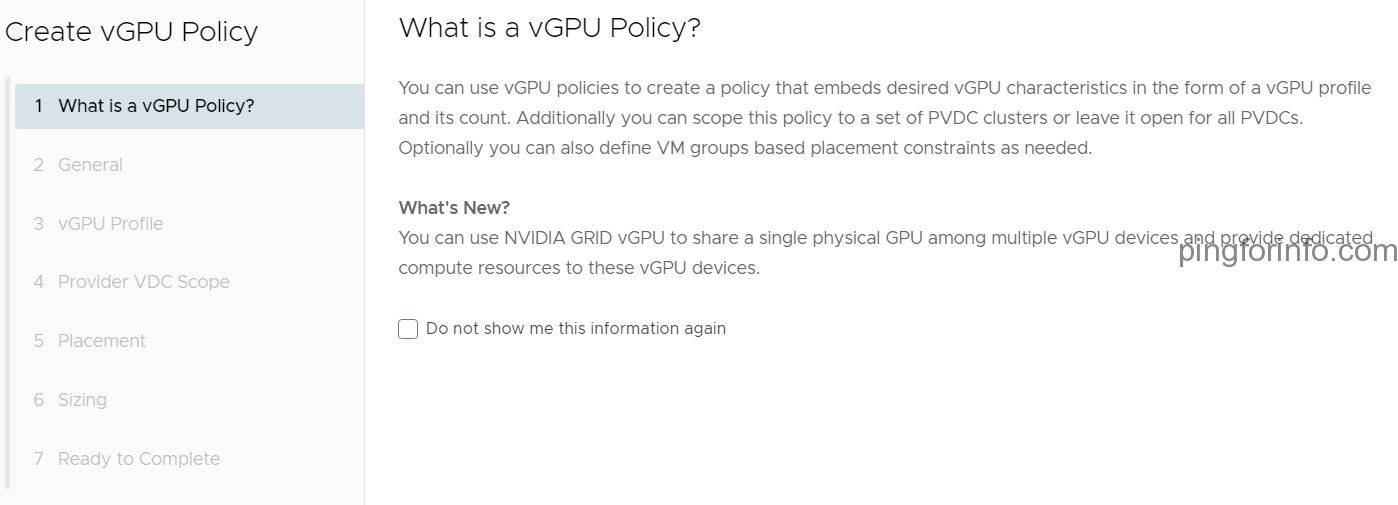
- On the “What is a vGPU Policy?” screen, click Next.
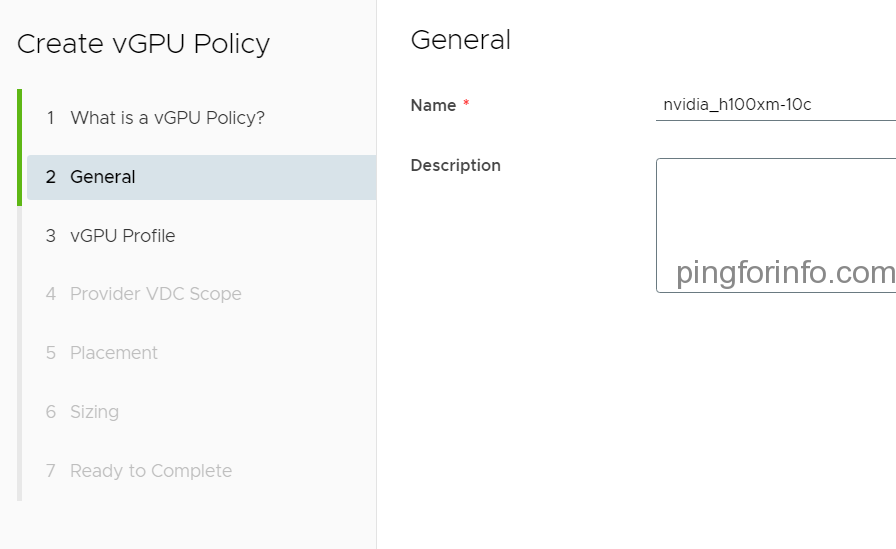
- Define Policy Details:
- Name: Enter a descriptive name for your vGPU policy. Ideally, match it to the vGPU profile it references for clarity (e.g., “High Performance vGPU”).
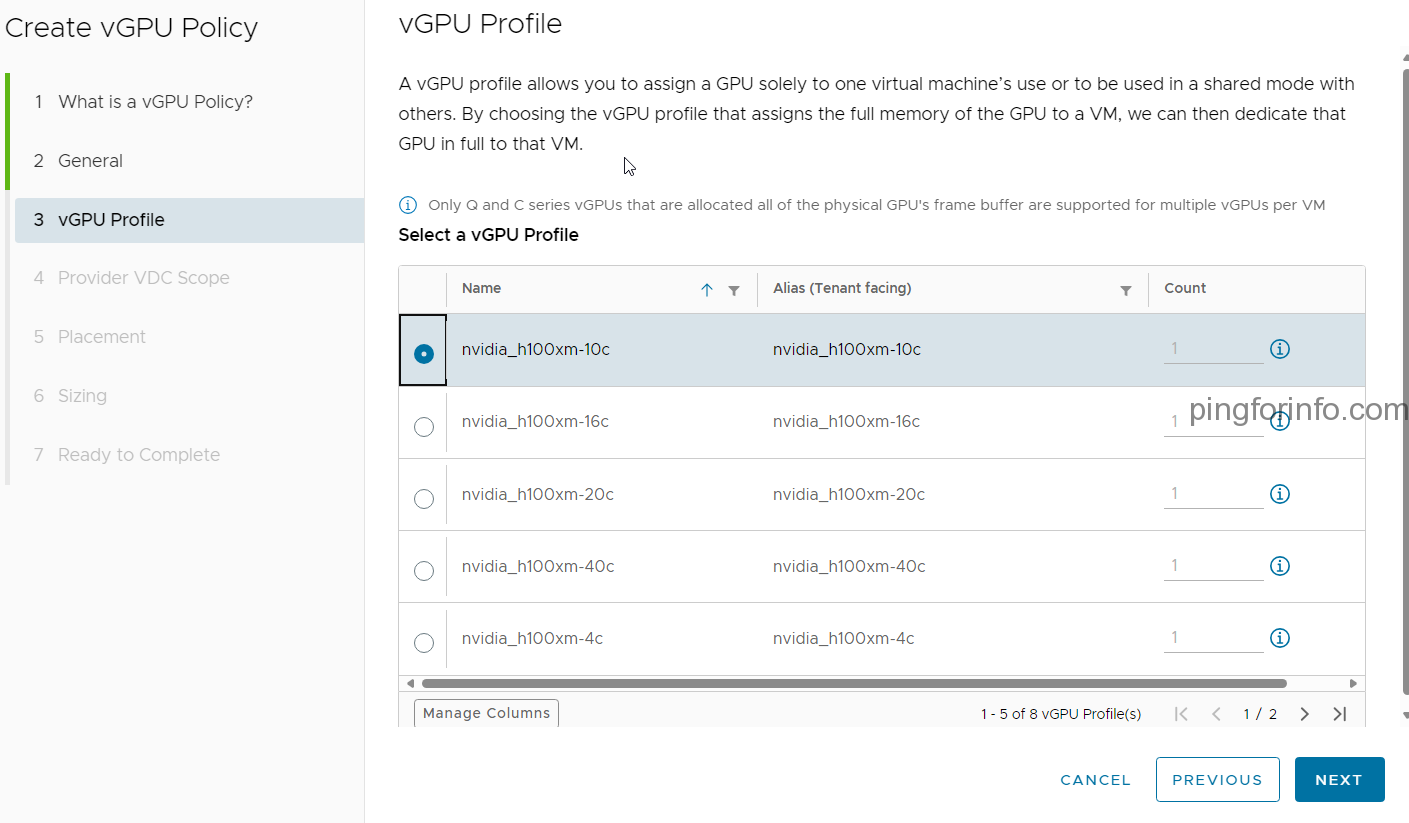
- vGPU Profile: Select the vGPU profile that defines the type and capabilities of the vGPU to be assigned.
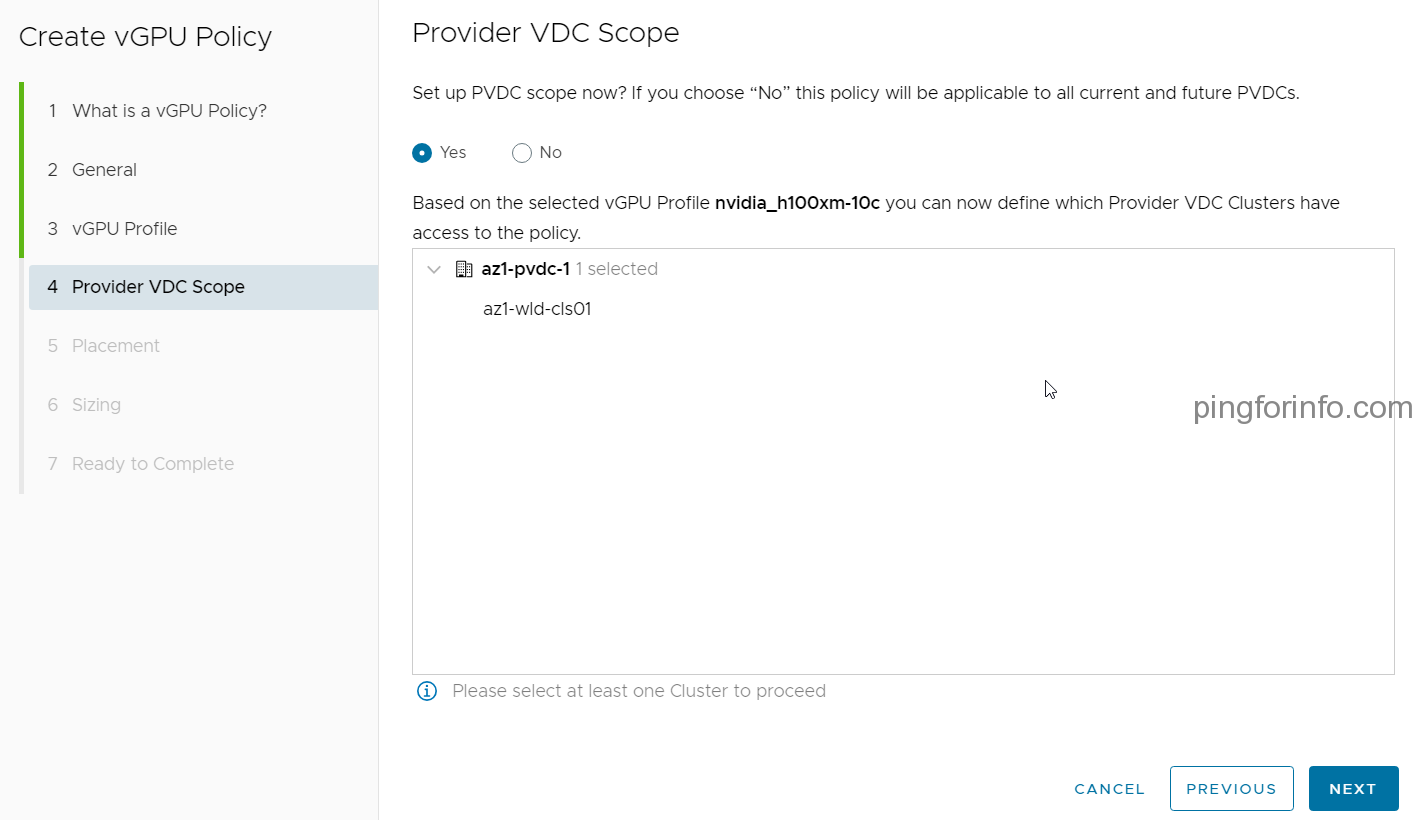
- Provider VDC Scope : Choose the PVDC has access to the poloicy.
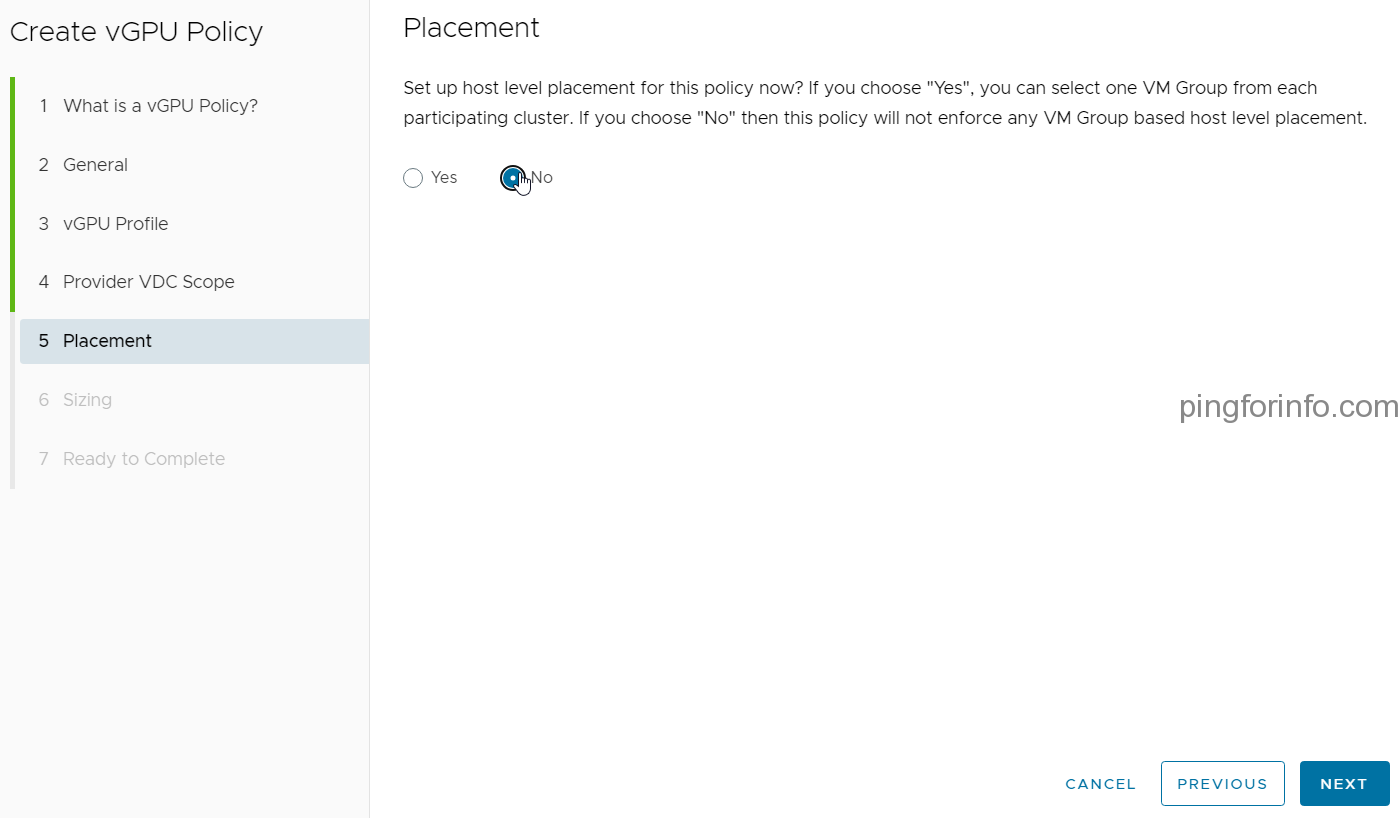
- Placement: Choose No for placement flexibility. You can assign this policy to VMs and let VCD determine optimal placement based on available resources.
- Sizing: Select No for sizing flexibility. You can configure VM CPU, memory, and storage independently during VM deployment.
- Finalize the Policy:
- Select the Organization VDC where you want this policy to be available.
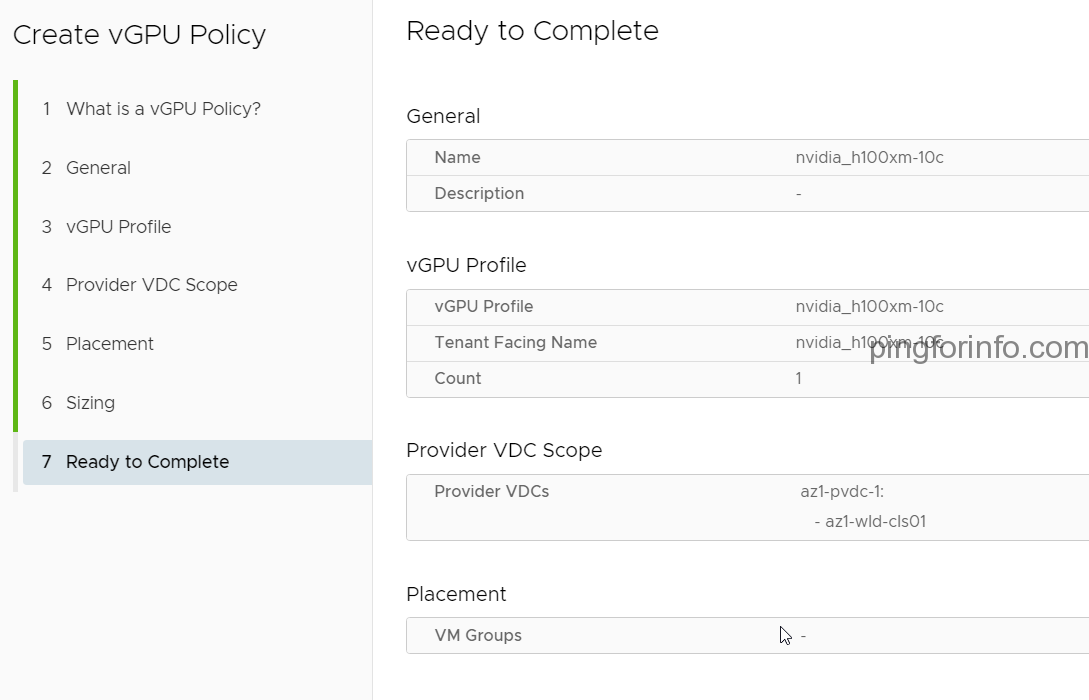
- Review the policy details on the “Ready to Complete” screen and click Finish to create the vGPU policy.
Congratulations! You’ve successfully created a vGPU policy in VCD. Now, when deploying VMs in the chosen Organization VDC, you can assign this policy to provide the necessary vGPU power for your graphics-intensive workloads.
Additional Considerations:
- You can create multiple vGPU policies with different vGPU profiles to cater to varying VM requirements.
- For more granular control, explore the options for placement and sizing policies within VCD, allowing you to define specific placement rules and resource allocation for vGPU-enabled VMs.
By leveraging vGPU policies, you can efficiently manage and allocate vGPU resources within your VCD environment, empowering your tenants with the graphics processing capabilities they need for their demanding workloads.